• youtube
  • linkedin
  • twitter
  • Facebook
  • Help
  • News
  • Home
  • Home
  • Our Products
    • An Overview
    • TimeTabler
    • Options
    • StaffCover
    • The Timetabler’s
      CookBook
    • The TOOLS
      online System
    • FAQs
    • Links to MIS
    • Help & Support
  • Our Schools
    • Comments
      & Testimonials
    • TimeTabler around
      the World
    • Existing customer ?
      Upgrades & Renewals
    • TimeTabler for MATs
  • How to order
    • Tutorial Versions
      (try before you buy)
    • Book an Online Demo
    • FAQs
    • Users’ Comments
    • New customer ?
      Order Now
    • Existing customer ?
      Upgrades & Renewals
    • How to Pay
  • Help & Support
    • Help in 12 ways
    • New To Timetabling?
      Skills, principles, etc
    • Moving from Nova-T6
    • Free Timetabling Booklets
    • Support Centre
    • Training & Courses
      On-site, workshops,
      webinars, etc
    • Help Movies
    • Exporting to your MIS
    • Upgrades & Renewals
  • Downloads
    • Free Downloads
    • TimeTabler Tutorial
    • Options Tutorial
    • StaffCover Tutorial
    • Free Timetabling Booklets
    • Principles & materials
    • Physics teaching
    • Readability tests
    • Lesson Loader
  • Contact Us

More about Options : Themes

Students taking an elective options module
  • Options
    • More Details
    • The TOOLS System
  • More Software
    • TimeTabler
    • StaffCover
  • Help & Support
    • Training & Support, Free Resources
    • Gold-Start
    • Vouchers
  • Free Trial
  • Buy Now

Home / More about Options : Themes

Options    (Electives)   … alternative ‘themes’


Options  

Options is a well-known program for analysing and organising the choices that students make in the optional part of their curriculum. You can download a trial version from this site.

Click here to see more details of the 6 steps in using the program.

Click here to see a short Video about the screens in Options


Alternative Theme

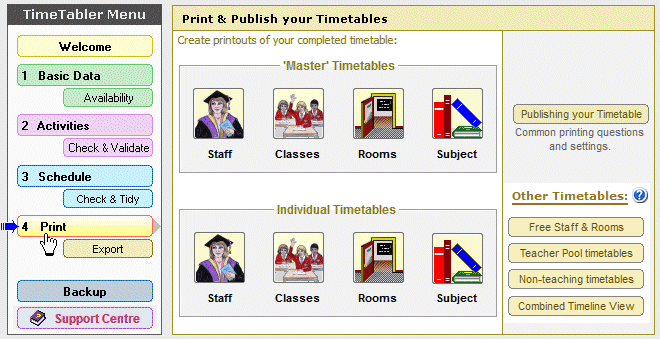
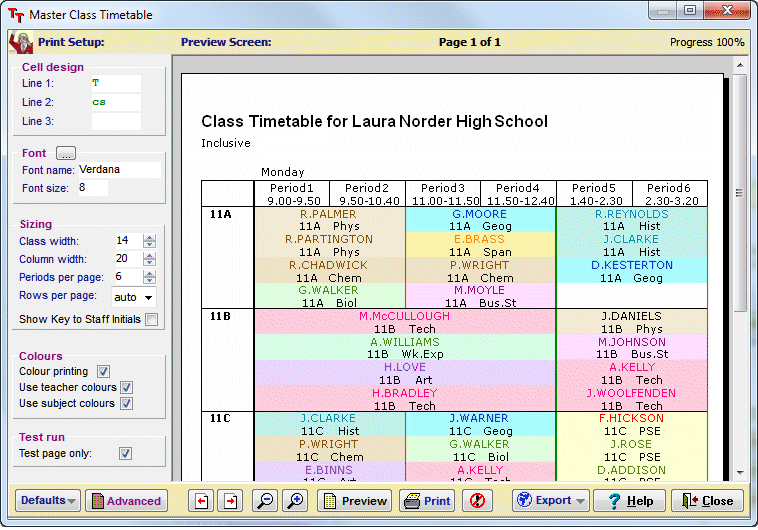
The ‘Classic’ view of Options with its central menu is shown on another page, …but you can also choose to have a different display, by choosing a different ‘theme‘ with the menu shown at the left-hand side, like this:
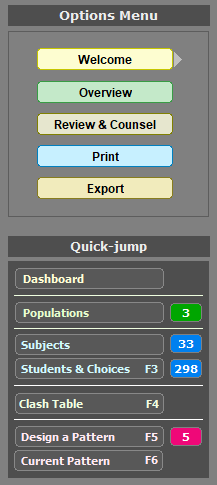
Left-hand Theme

As well as choosing either this ‘Left-hand’ theme or the ‘Central’ (Classic) theme shown on the other page,
you can also choose:

–to have the top menus on a dark or a light background,
and
–to have either icons or text showing against the 7 main steps. 

And you can swap between the themes and their settings, at any time you wish.


Dashboard

Whichever ‘Theme’ you choose, you can also show a ‘Dashboard‘ that collects all your important information into one place, with links to take you directly to the relevant part of the program:
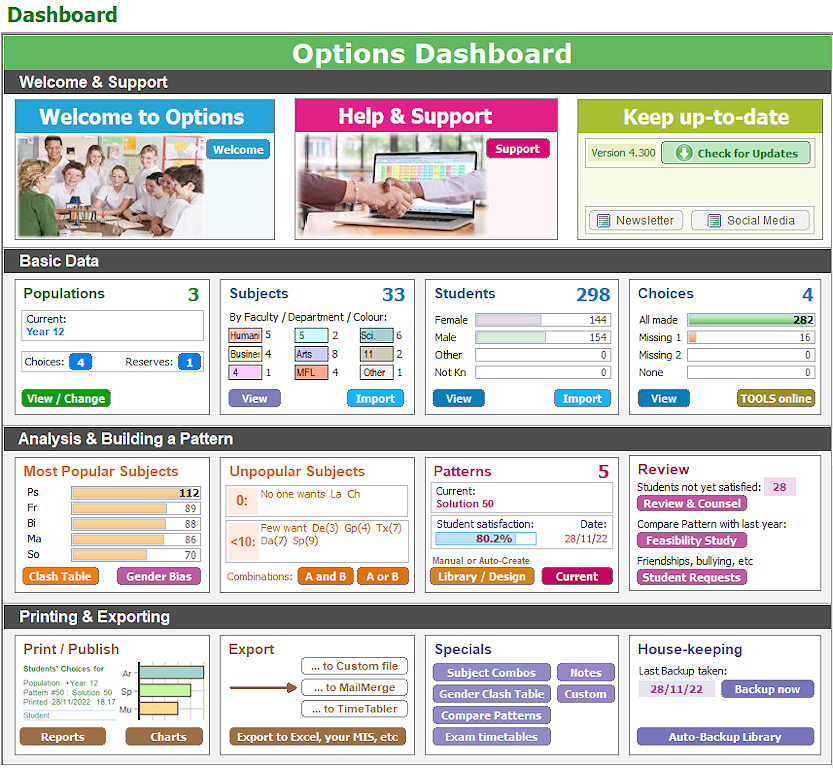
Options 2023 DashBoard

Your Dashboard

All the information is here, to help you get the best possible Option Blocks, to satisfy your students and their parents …whether you build the Blocks/Columns manually or, better, get Options to build them automatically using AutoCreate.


Click here to see more details of the 6 steps in using the program.

Click here to see a short Video about the screens in Options


Home / More about Options : Themes

The TimeTabler Newsletter

Our free Monthly Newsletter for School Timetablers:  Click here for more info, or to sign-up.

Logo

October Resolutions

  • About Us
  • Contact Us
  • Careers at TimeTabler
  • Data & Privacy
  • – – – – – – – – – – –
  • Help & Support
  • Associates & Training

Our Software

  • TimeTabler
  • Options / Electives
  • StaffCover
  • – – – – – – – – – –
  • Free Tutorials
  • Add to Wish-List
  • How to Buy

Extras & Services

  • Timetabler’s CookBook
  • TOOLS (for Options)
  • Training & Courses
  • – – – – – – – – – –
  • Free Resources
  • New To Timetabling ?
  • Gold-Start Support

Stay in contact

  • Contact Us
  • Read our Blog/News
  • ----------
  • Social Media
  • ----------
  • Tell a Friend
  • Our NewsLetter

© 1979-2025 October Resolutions Ltd

  • Terms & Conditions
Basic Data

BasicData-thumbnail

This shows the Main Menu, and Step 1 : the Basic Data screen, with five big buttons.

Each button leads you to an entry screen.

To enter your data you would start at the left, and work your way across to the right.

Look how straightforward it is, compared to other programs !

And the fully-illustrated printed Manual explains each step, in detail.


Subjects Screen

subjects screen

This is the screen for saying which Subjects you will want to timetable.

You can return here at any time to edit / alter your data.

You can give each Subject a colour – this helps during scheduling, and for the printouts.

Visual Builder Screen

visual builder screen

This is the main screen on which you do the actual scheduling.
You can sit at this Visual Builder Screen and drag-and-drop to ‘drive’ through the timetable.
 
At first sight it looks very complicated.  To see what each part will do for you, please click on: www.timetabler.com/kb/UsingtheVisualBuilderScreen.pdf

Class Timetable Screen


visual builder screen


This shows you the Class Timetables, so you can see the pattern while you are scheduling lessons.
  
There are similar screens for the Staff Timetables and for the Room Timetables.
 
If you use dual monitors you can see these more easily and spread them out over the bigger area.

All the buttons, and the symbols, are explained when you click on the button.

The Printout Menu

This shows you some of the possibilities for the Printouts.
 
Within each of these, there are millions of ways of fine-tuning the exact design of the Printouts.

They can be printed on paper, or produced as web-pages, at the click of a button.

A professional result.
 

The 'master' Class Printout Screen

Class timetable printout screen

This shows you the Preview Screen , so you can design the ‘master’ Class printout, before printing it.
 
There are similar screens for the Staff Timetables and for the Room Timetables.
 
You have total control over the design, the font and the colour, the column widths, the labels, etc, etc.
 
All the buttons and the controls, are explained when you click on the button.