Export to SIMS-STAR
Part 2
NOTE : this documentation is for the old SIMS-STAR. Do not use it with recent versions of SIMS.
For the documentation for SIMS .net and Nova-T, please click here.
1. First ensure that you have carried out steps 1 to 5 on the Preparing to Export page.
If you want to change the data in SIMS rather than in TimeTabler, staff initials can be changed within ‘Personnel’ (using ‘selective edit’), Subjects within STAR ‘supervisor/academic’ menu (route <CAAA>), Rooms within SIMSMAN (route <BC>).
2. Within STAR, ‘promote’ the classes into the next academic year. This is normally done late in the summer term. In doing this you should follow your SIMS manual and any LEA guidelines that are available. Briefly the sequence is:
a) Route <CABA> : check the dates of classes that are to be carried forward.
b) Route <DIA> : promote with academic information.
c) Route <CABA> : create any classes that are new for the new academic year.
(After doing this, routes <DIB> <DIC> can be used to temporarily move back to the current year.)
It is always advisable to do a full backup, for safety, before doing any of the steps below.
3. If you are going to be working on a computer which does not have the STAR data in it or is not connected to the network, then copy the following 4 STAR files to a floppy disc:
xxCLASS.DBF xxTABLE.DBF
ROOMS.DBF STFHEAD.DBF
where xx are the 2 year-digits for the new school year eg. for September 1999, xx = 99
No other user should be active while these files are copied.
4. For step 14 you will find it useful to have to hand:
a) a printout from SIMS (via route <CABCD>) of the SIMS class names.
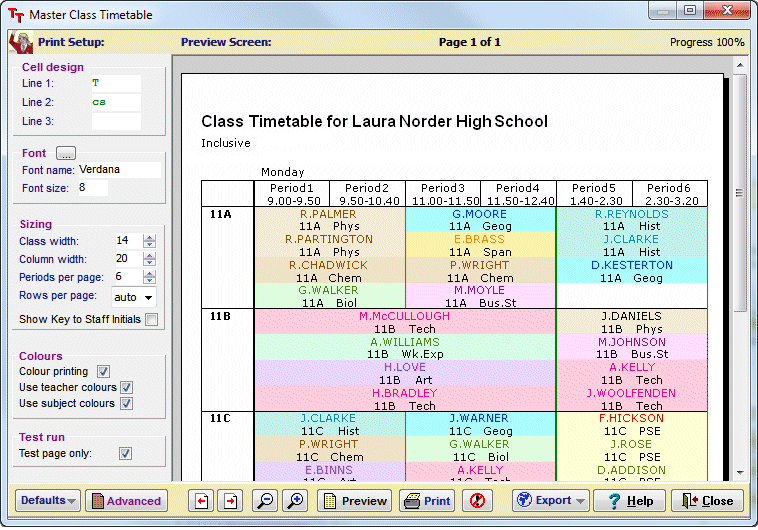
b) printouts of the Class timetables from TimeTabler, see section J18 in the Handbook, (perhaps with a Printout Design of Line 1: str ).
You can also use these to check that each lesson has a subject and a room.
5. Then select File->Export to …. SIMS->Export
(Note that the option View Log allows to see any error messages that occur
while you are setting up the export.)
6. The screen asks you where the STAR data directory will be
found. If you have the STAR data on a floppy disc then insert the disc and enter A:
7. It asks you to enter the last 2 digits of the new academic year. For example, type or click to show: 99 for a timetable starting in September 1999.
8. It offers you a choice of transferring data to STAR2 or STAR3, depending which system your school is using at present.
Technical note: At this stage the program makes a copy of the SIMS files that it needs. Unless the STAR data is on a floppy disc, no other user should be active while the files are copied. So that no data can be lost it uses only these copies from now on, and it makes a backup copy of the timetable file before it makes the new version for you to use in STAR, at step 16.
9. The screen asks you whether the correct Staff Initials are in:
- the ‘Initials’ column of the Teachers Screen in TimeTabler, or
- the ‘Full Name’ column.
See step 3 of Preparing to Export.
10. The next screen lists the SIMS Entry Years and the corresponding TimeTabler Year-Group numbers. For example:
| SIMS Yr99 | = TT Yr 7 | |
| SIMS Yr98 | = TT Yr 8 | |
| SIMS Yr97 | = TT Yr 9 |
You can edit these if they don’t already correspond correctly (for example, perhaps you used Year 14 in TimeTabler as a GNVQ ‘Lower Sixth’). Highlight a line and click the + or – button to increment or decrement the Yr number.
11. Click on Select to see the available Schedules to choose from.
Click on the correct one. ie the one you have edited, as described in Preparing for Export.
Then click on Select and then Close.
12. When everything is correct, click on Next Step
13. TimeTabler starts comparing files.
Note: if it can’t complete these stages for any reason, you will find the reason given in File->Export to …->SIMS->View Log.
TimeTabler checks all the staff initials and rooms, to see if they are the same in SIMS and TimeTabler.
If it reports “Some of your Teachers (or Rooms) were not found in SIMS” you should correct them, as described in Preparing for Export, before re-starting.
The details of which Teachers/Rooms were wrong will be found in File->Export to …->SIMS->View Log. You can print out this Log if necessary.
At this stage and from now on, you can choose to save your work, exit the program and re-start at the same place later.
(On re-starting you are also given the option of beginning again at step 1, for example if you have changed staff initials/rooms/class details since the previous session.)
14. The Class-Linking Screen is now displayed:
| En-11-01-G |
Progress |
= En 11A AJ |
| Class name in SIMS |
Search on Ma in Year 11 | |
| Ma-11-01-G Ma-11-02-G
Ma-11-03-G F -11-01-G F -11-02-G F -11-03-G |
Link Undo |
Ma 11A KJO Mon 3
1 Ma 11A CJ Mon 3 2Ma 11A PNE Mon 3 3Ma 11X RN Tue 1 |
On this screen you link the top SIMS class on the left-hand side (Ma-11-01-G in the example shown) with the correct TimeTabler class on the right-hand side.
The box on the right-hand side displays all the TimeTabler classes that could link with the highlighted SIMS class.
Often the SIMS class will link with the top class on the right-hand side, but you can use your mouse or the <up/down> arrow keys to choose which TimeTabler class you want.
In the example Ma 11A KJO Mon 3 means Maths for TimeTabler class 11A with teacher KJO and the first time it appears on the timetable is Monday period 3 (so that you can identify it if there is any ambiguity). The final numbers (1, 2, 3) group the members of a teacher-team, in team-order.
When you have highlighted the correct class, just click on the Link button to link the 2 highlighted classes.
The upper area of the screen shows links that have already been made.
In the example, SIMS class En-11-01-G has already been linked with En for class 11A with teacher AJ.
Undo allows you to Undo the links shown in the upper area. ie. in this example, it would bring back both En classes into the lower area of the screen, to be linked differently.
Warning : you can only Undo the links visible in the upper area, so do not be too hasty.
Ignore allows you to ignore the highlighted (top) SIMS class. Use this if there is no TimeTabler class to link it to.
Duplicate allows you to duplicate the previous SIMS class. In the example above it would bring back down, on the left-hand side only, a copy of En-11-01-G, to be linked with another TimeTabler English activity.
You would need to do this if, for example, this class was taught for some English periods by teacher AJ (as shown) and for the other English periods by a different teacher.
Note that you can only duplicate the immediately previous SIMS class, not earlier ones.
Here is another example where you would need to use Duplicate.
If a teacher-team changes during the week, for example:
| On Tuesday | On Friday | |||
| Class 8A: | AB (Art) | AB (Art) | ||
| CD (Music) | EF (Drama) |
The Art for AB will be shown as two lines on the right-hand side of the screen, because the teams are different. If you have only one SIMS class-name for both Art lessons, then you will use Duplicate to duplicate it and so link both lessons.
Format allows you to change the format used for the TimeTabler class name.
In the example it is showing the Scheduling name (11A), but you can click Format to change to the Printing name (eg. Yr-11), if this is easier to recognise.
Save saves your decisions to your hard disc. Use it every few minutes, in case of power-cuts.
Finish saves the data and ends this session. When you re-start it will be at this point.
The % figure at the top of the screen tells you of your progress.
Continue on this screen until all the SIMS classes have been linked with a TimeTabler activity (or ignored).
The program automatically picks up all the periods timetabled for each activity.
15. Whenever you leave the program, via Finish, TimeTabler will list for you any classes that have not (yet) been linked. You can see the list and get a printout via File->Export to …->SIMS >View Log.
16. Finally TimeTabler constructs a database file (the new TABLE.dbf) of all this information, including all the timetabled periods and the teacher and room for each class, and stores it in the current directory (keeping the original backup copy, see step 8).
It also offers to put a copy in the SIMSSTAR directory that you specified in step 6 — but take this option only at the end of linking all the classes, not if you are just breaking off to return later. Standard SIMS practice recommends that you do this when no other users are active.
If the STAR data was on a floppy disc it will put the new file on the floppy disc, for you to copy to the correct SIMSSTAR directory.
It is standard practice then to use STAR Manager’s Tools Menu, route <DFC> to re-build the index files.
Then when you enter STAR (eg. route <CABA>), or MIDAS, the new timetable information will be there.
You should check it, to assure yourself that it is all correct.
If there were classes shown still unlinked on the View Log printout, you will usually need to enter them within STAR, route <CABA>. Use this same route to correct any minor mistakes you have made on the Class-Linking Screen.
If you wanted to use the SIMS ‘Cover’ module (although StaffCover is better !) you would need to export the data from STAR to it (see the SIMS Manual).
When you have finished Exporting, you may wish to:
- use File->Backup to save the TimeTabler data in this Export format, and then
- use File->TT-Restore to re-load the TimeTabler data that you saved in Step 1 of Preparing for Export. This will restore your full staff-names for your timetable printouts during the year.



 button.